NOTE: In the below steps, we used our development tenant. Please change the tenant while copying URLs.
For this, first create a Site Collection in SharePoint Online.
https://gurram.sharepoint.com/sites/CRM

Created a sub site for current usage.
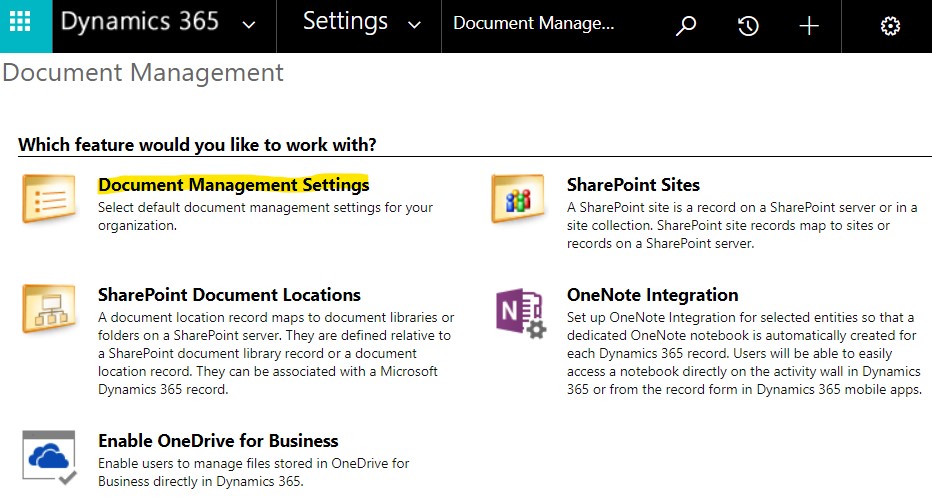
Go to Dynamics 365 > Settings > Document Management (under System).
https://gurram.crm.dynamics.com/main.aspx?settingsonly=true#640309862

Click on 'SharePoint Sites'

Click on 'New', to create a new SharePoint Site record.

Enter the below Required fields.

First, we need to create a Parent Site record filling only Absolute URL with SPO Root Site.
'List Component is installed' should be unchecked (for SharePoint Online).
'Allow Embedding of the Power BI Reports' is Optional.

then, we need to create a Site record filling parent Site and Relative URL.
'List Component is installed' should be unchecked (for SharePoint Online).
'Allow Embedding of the Power BI Reports' is Optional.

Select Active SharePoint Sites created and click on 'Activate'

Again, go to Dynamics 365 > Settings > Document Management (under System).
https://gurram.crm.dynamics.com/main.aspx?settingsonly=true#640309862

Click on 'Enable Server-Based SharePoint Integration' Follow the below steps to Complete Validation.


Active SharePoint Sites created are 'Valid' for usage.
Go to Dynamics 365 > Settings > Document Management (under System) > Document Management Settings
https://gurram.crm.dynamics.com/main.aspx?settingsonly=true#640309862
Select all required entities. Provide the SharePoint Online Company One URL > Next

Check Based on Entity > Select from drop-down. We selected Account > Next

Once Succeeded, Click Finish.

Go to Site Contents of the SharePoint Online Company One. You should see all the newly created Document Libraries.