SharePoint (2003 thru Online): March 2018

Thursday, March 8, 2018

Assign a user to administrator roles in Azure Active Directory

This article explains how to assign an administrative role to a user in Azure Active Directory (Azure AD). Added users don't have administrator permissions by default, but you can assign roles to them at any time.

Assign a role to a user


  1. Sign in to the Azure AD admin center with an account that's a global admin for the directory.
  2. Select Users and groups.
    Opening user management
  3. Select All users.
    Opening All users group
  4. Select a user from the list.
  5. For the selected user, select Directory role and then assign the user to a role from the Directory role list. For more information about user and administrator roles, see Assigning administrator roles in Azure AD.
    Assigning a user to a role
  6. Select Save.

Tuesday, March 6, 2018

Install Azure (RM, AD & SPO) modules in PowerShell

NOTE: Run the below PS Command in Windows PowerShell ISE thru Admin mode.

Install PowerShellGet
Install-Module PowerShellGet -Force
While Loading, you will see a couple of dialog boxes for Acceptance, Click on Yes to All

Install Azure PowerShell
Install-Module -Name AzureRM -AllowClobber
While Loading, you will see a couple of dialog boxes for Acceptance, Click on Yes to All

In Windows 10: Everything works fine.
In Windows 7: Turn on Script Execution in both the Locations given below.

Local Computer Policy\Computer Configuration\ Administrative Templates\ Windows Components\Windows PowerShell

Local Computer Policy\User Configuration\ Administrative Templates\ Windows Components\Windows PowerShell


Manage Execution Policy
To get all of the execution policies that affect the current session and displays them in precedence order, type:

Get-ExecutionPolicy -List
To set the execution policy in a particular scope, type:
Set-ExecutionPolicy AllSigned -Scope CurrentUser
Set-ExecutionPolicy AllSigned -Scope LocalMachine


Load the AzureRM module
Import-Module -Name AzureRM
While Loading, you will see a couple of dialog boxes for Acceptance, Click on Yes to All

Install the Azure AD Module
Install-Module MSOnline
While Loading, you will see a couple of dialog boxes for Acceptance, Click on Yes to All

MSOnline Public Preview module
Install-Module AzureADPreview
While Loading, you will see a couple of dialog boxes for Acceptance, Click on Yes to All

Microsoft SharePoint Online Services Module for Windows PowerShell
Install-Module -Name Microsoft.Online.SharePoint.PowerShellWhile Loading, you will see a couple of dialog boxes for Acceptance, Click on Yes to All

If you notice any warning as shown below, add -Force to the end of the above Powershell command.
Restart the Windows PowerShell ISE after completion.
Now you can see all the Modules loaded.

Thursday, March 1, 2018

Enable the Power BI Adoption content pack for Office 365

Note: This is pre-release documentation for a public preview, and is subject to change in future releases.
The Adoption content pack is now also available for Office 365 US Government Community.

Steps to enable Office 365 Adoption content pack Power BI reports

To get started with the Adoption Content Pack, you first need to get Power BI, and then instantiate the content pack in the Office 365 admin center.
Get Power BI
If you don't already have Power BI, you can sign up for the free Power BI service. Choose Get started free to get the free version.
Choose Get started free to get Power Bi
You can also expand Products to buy a version of Power BI.
Enable the content pack
To instantiate the content pack, you have to be either a global administratorExchange administratorSkype for Business administrator, or SharePoint administrator.
See Office 365 admin roles for more information.
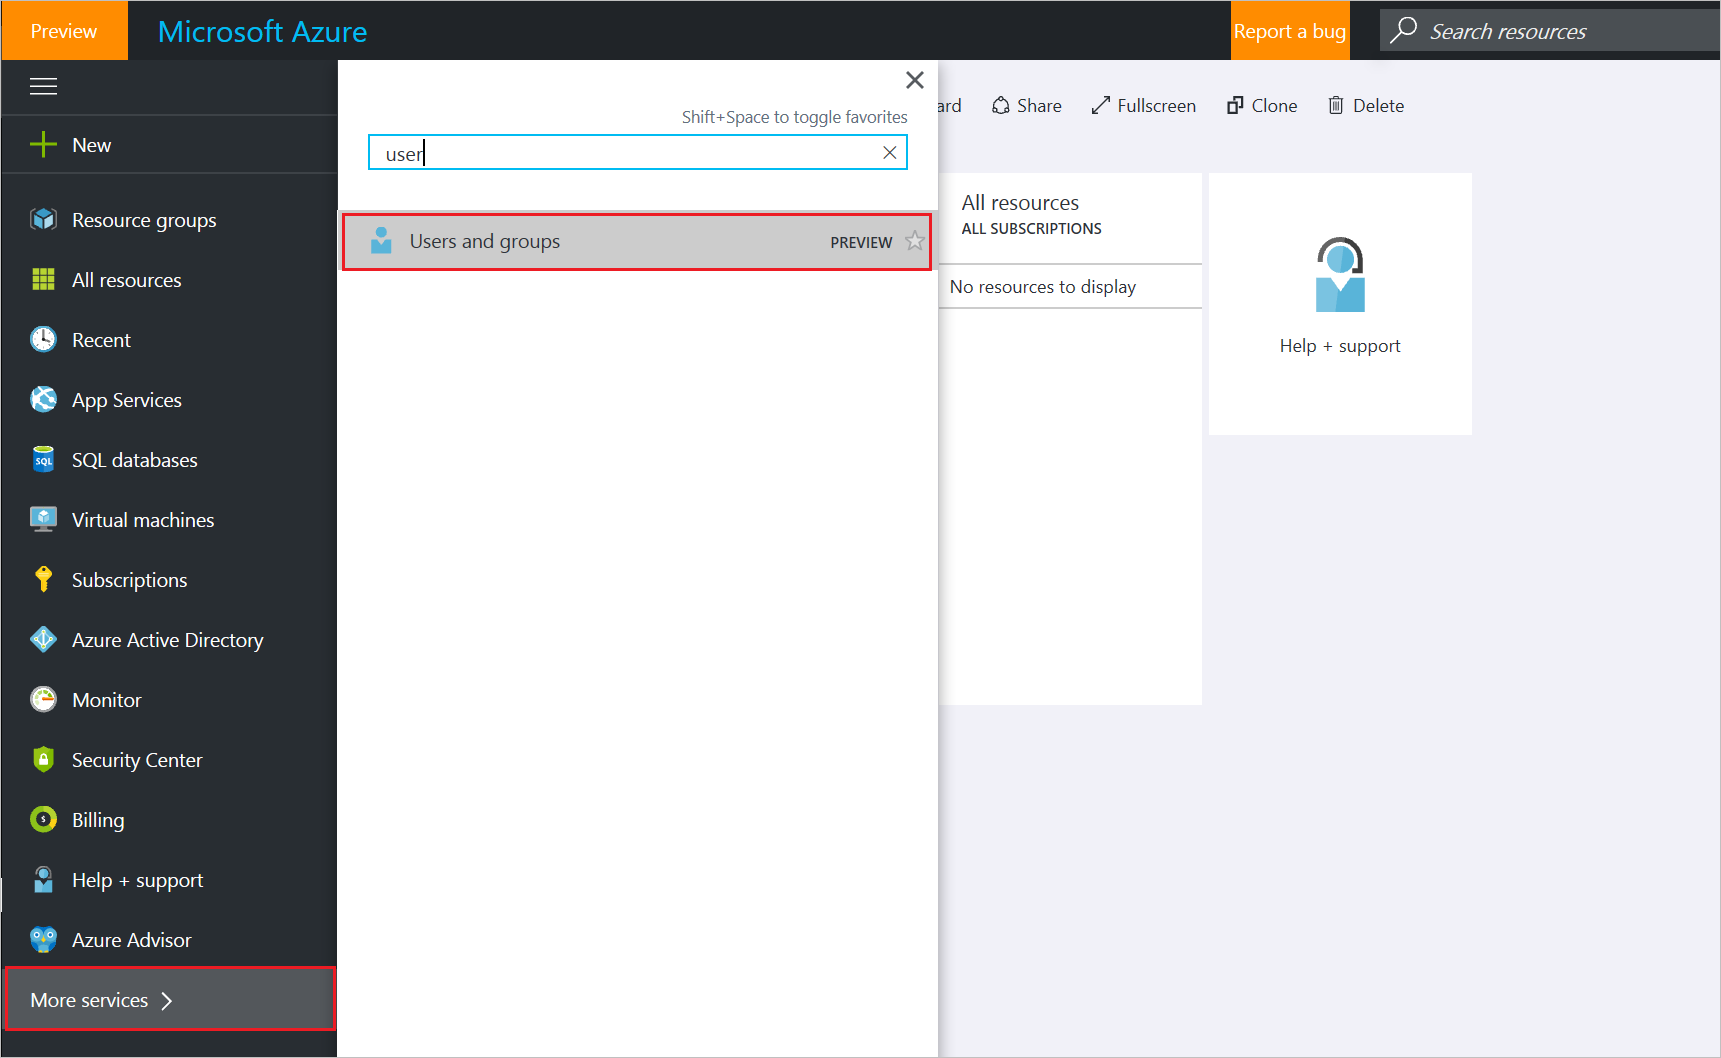
  1. Sign in with your admin credentials, and go to the Admin center.
  2. In the admin center, expand the left nav, and go to Reports > Usage.
  3. On the Usage page, locate the Office 365 Adoption card, and choose Get started.
    Choose Get started on the Office 365 Adoption card
  4. On the Reports panel that opens, set Make data available to the Office 365 Adoption content pack for Power BI to On > Save.
    This initiates the data collection. [which normally takes between 2 and 48 hours depending on the size of the tenant]
    When the data collection is complete, the Go to Power BI button is enabled (no longer gray), and the card includes a tenant Id.
  5. Copy the tenant Id and choose Go to Power BI.
    Chose Go to Power BI on the Office 365 Adoption card
  6. When you get to Power BI, sign in. Choose Get Data, then under Content Pack Library choose Services > Get.
    Under Content Pack Library, in Services, choose Get.
  7. In the Apps tab, type Office 365 in the search box and then select Office 365 Adoption Preview > Get it now.
  8. On the Connect to Office 365 Adoption screen, type in the tenant Id you copied in step (5) > Next.
  9. On the next screen, choose oAuth2 as the Authentication method > Sign in. If you choose any other authentication method, the connection to the content pack will fail.
    Choose oAuth2 as authentication method
  10. Once the content pack is instantiated the Office 365 Adoption dashboard will be available in Power BI on the web. The initial loading of the dashboard will take between 2 to 30 minutes
    See working with the reports in the adoption content pack for tips on how to view and use these reports.

Make the collected data anonymous

To make the data that is collected for all reports anonymous, you have to be a global administrator. This will hide identifiable information such as user, group and site names in reports and in the content pack .
  1. In the admin center, expand the left nav, and go to Settings > Services & add-ins.
  2. On the Services & add-ins page choose Reports, and then turn on the toggle next to Display anonymous identifiers instead of names in all reports.This setting gets applied both to the usage reports as well as to the content pack.
    Set toggle to on to make reports anonymous
  3. Choose Save.